




How to ensure the alignment of threaded flanges during installation?
 Jan 05, 2026|
 Ensuring the alignment of threaded flanges during installation is a critical step that directly impacts the performance and safety of piping systems. As a seasoned threaded flange supplier, I've witnessed firsthand the challenges that customers face in achieving proper alignment. In this blog, I'll share some professional insights and practical tips to help you ensure the alignment of threaded flanges during installation.
Understanding the Importance of Alignment
Before delving into the specifics of alignment, it's crucial to understand why it matters. Proper alignment of threaded flanges ensures a tight and leak - free connection. Misaligned flanges can lead to uneven stress distribution, which may cause premature wear, leakage, and even system failure over time. In high - pressure or hazardous fluid applications, the consequences of misalignment can be severe, including safety hazards and significant financial losses.
Pre - installation Checks
Inspection of Flanges and Pipes
As a threaded flange supplier, I always recommend a thorough inspection of both the flanges and the pipes before installation. Check the thread quality of the flanges; any damaged or worn threads can prevent proper engagement and alignment. Ensure that the pipe threads are also in good condition and match the flange threads in terms of size, pitch, and thread type.
- Threaded Blind Flange: If you are using a Threaded Blind Flange, make sure the blind face is flat and free of any defects. This type of flange is often used to seal the end of a pipe, and a misaligned or damaged blind face can lead to sealing issues.
- Carbon Steel Threaded Flange: For Carbon Steel Threaded Flanges, inspect for any signs of corrosion. Carbon steel is prone to rust, and corrosion on the threads can affect the alignment and the integrity of the connection.
Measuring and Marking
Measure the pipe lengths and the flange positions accurately. Use precision measuring tools such as calipers and rulers to ensure that the distances between flanges are consistent. Mark the centerlines of the pipes and the flanges clearly. This will serve as a visual guide during installation and help in achieving the correct alignment.
Alignment Techniques
Visual Alignment
One of the simplest methods is visual alignment. Stand at a distance and look at the flange faces. They should appear parallel and in line with each other. If there is a visible offset or angle between the flanges, adjustments need to be made. This method is just a preliminary check and should be followed up with more accurate techniques.
Using Alignment Tools
- Alignment Bars: Alignment bars can be inserted through the bolt holes of the flanges. They help in aligning the bolt holes and ensuring that the flanges are parallel. Place the alignment bars in at least two opposite bolt holes and adjust the flanges until the bars are straight and parallel.
- Laser Alignment Systems: For more precise alignment, laser alignment systems can be used. These systems project a laser beam that can be used to measure the alignment of the flanges in multiple planes. They are especially useful in large - scale or high - precision piping installations.
Pipe Support and Adjustment
Proper pipe support is essential for flange alignment. Use pipe hangers and supports to hold the pipes in place during installation. If the pipes are not supported correctly, they may sag or shift, causing misalignment of the flanges. Adjust the pipe supports as needed to ensure that the pipes are level and in the correct position.
Installation Process
Thread Engagement
When installing threaded flanges, ensure proper thread engagement. Do not over - tighten or under - tighten the flanges. Over - tightening can damage the threads and cause the flange faces to deform, while under - tightening can lead to leakage. Refer to the manufacturer's specifications for the recommended torque values.
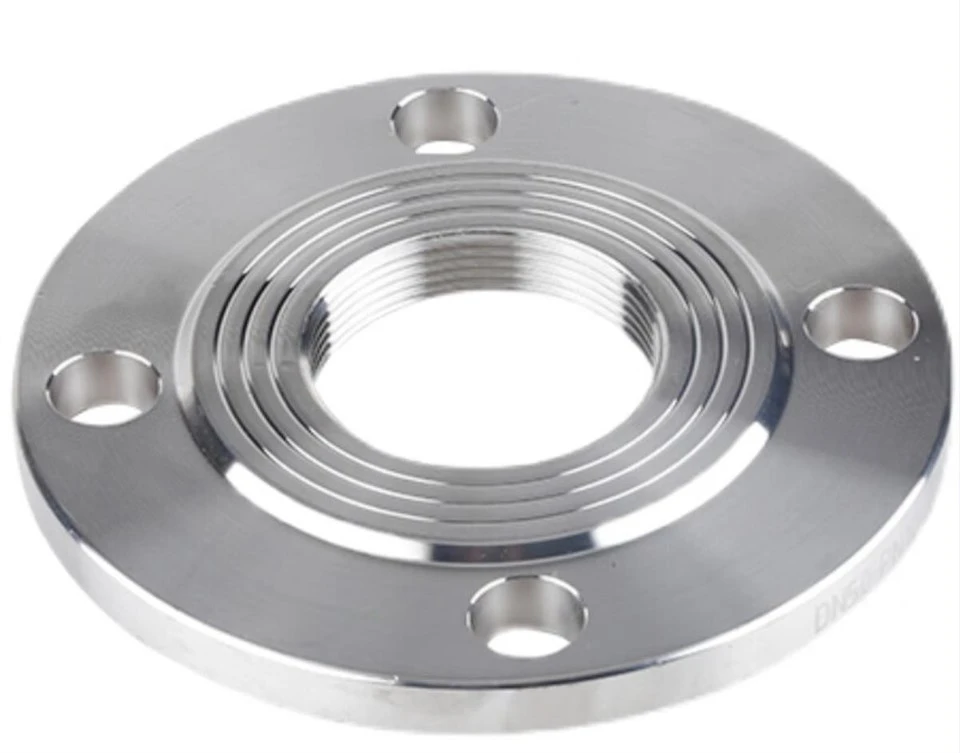
- Flat Face Threaded Flange: For Flat Face Threaded Flanges, make sure to use a suitable gasket. The gasket should be centered between the flange faces and compressed evenly during tightening to ensure a proper seal.
Bolt Installation
Insert the bolts through the bolt holes in a diagonal pattern. This helps in distributing the tightening force evenly around the flange and reduces the risk of misalignment. Tighten the bolts gradually and in several passes, following the recommended torque sequence and values.

Post - installation Checks
After the flanges are installed, perform a final check. Check for any signs of misalignment, such as gaps between the flange faces or uneven bolt tightening. Use a feeler gauge to measure the gap between the flanges. If the gap exceeds the specified tolerance, adjustments may be necessary.
- Pressure Testing: Conduct a pressure test to ensure that the connection is leak - free. Gradually increase the pressure in the piping system to the design pressure and monitor the flanges for any signs of leakage. If there is a leak, shut down the system immediately and identify the cause of the problem.
Conclusion
Ensuring the alignment of threaded flanges during installation is a complex but essential process. By following the steps outlined above, you can minimize the risk of misalignment and ensure the long - term performance and safety of your piping systems. As a threaded flange supplier, I am committed to providing high - quality flanges and professional advice to our customers. If you have any questions about threaded flange installation or need to purchase flanges, feel free to contact us. We are here to assist you with all your threaded flange needs.
References
- Pipeline Engineers Handbook: A series of guidelines and best practices for pipeline installation and maintenance that cover flange alignment techniques.
- Manufacturer's product manuals: Provide specific information on the installation and alignment requirements of different types of threaded flanges.