




How to install a blind flange plate?
 Oct 06, 2025|
 A blind flange plate is a crucial component in piping systems, used to seal the end of a pipe. As a trusted Blind Flange Plate supplier, I understand the importance of proper installation. In this blog, I will guide you through the step - by - step process of installing a blind flange plate.
Preparation
Before you start the installation process, it is essential to gather all the necessary tools and materials. You will need a blind flange plate, which you can find at our website Blind Flange Plate. Other tools include a wrench, a gasket, bolts, nuts, and a pipe cleaning brush.
First, ensure that the pipe end where the blind flange will be installed is clean. Use the pipe cleaning brush to remove any dirt, rust, or debris from the pipe surface. This step is crucial as a dirty surface can prevent a proper seal and lead to leaks.
Measure the diameter of the pipe accurately. This measurement will help you select the correct size of the blind flange plate. The blind flange plate should match the pipe's outer diameter and pressure rating. If you are unsure about the right size, our experts can assist you in making the correct choice.
Selecting the Right Gasket
A gasket is a vital part of the installation as it provides a seal between the blind flange plate and the pipe. There are different types of gaskets available, such as rubber, asbestos - free, and metal gaskets. The choice of gasket depends on the application, temperature, and pressure of the piping system.
For general applications, a rubber gasket is a popular choice as it is cost - effective and provides a good seal. However, for high - temperature or high - pressure applications, a metal or asbestos - free gasket may be more suitable. You can also consider Carbon Steel Plate Flange which is often used in conjunction with appropriate gaskets in various industrial settings.
Positioning the Blind Flange Plate
Once you have the clean pipe and the right gasket, it's time to position the blind flange plate. Place the gasket on the pipe end, ensuring that it is centered. Then, carefully place the blind flange plate on top of the gasket. Make sure that the bolt holes in the blind flange plate align with the holes in the pipe flange (if there is an existing flange on the pipe end).
Inserting the Bolts
After positioning the blind flange plate, insert the bolts through the bolt holes. Use the appropriate size of bolts according to the flange's specifications. It is important to use bolts of the correct grade to ensure the integrity of the connection.
When inserting the bolts, make sure they are straight and not cross - threaded. Cross - threading can damage the bolt holes and make it difficult to tighten the bolts properly. Insert the nuts onto the bolts, but do not fully tighten them at this stage.
Tightening the Bolts
Tightening the bolts is a critical step in the installation process. Use a wrench to tighten the bolts gradually and evenly. Start by tightening the bolts in a diagonal pattern. This helps to distribute the pressure evenly across the flange and ensures a proper seal.
For small - diameter flanges, you can use a standard wrench. However, for larger flanges, a torque wrench may be required to achieve the correct tightening torque. Refer to the manufacturer's specifications for the recommended torque values. Over - tightening the bolts can damage the flange or the gasket, while under - tightening can lead to leaks.
Inspecting the Installation
Once all the bolts are tightened, inspect the installation. Check for any signs of misalignment or uneven tightening. Look for gaps between the flange and the pipe, which could indicate a poor seal.
If you find any issues, loosen the bolts slightly and re - adjust the position of the blind flange plate. Then, retighten the bolts following the correct tightening pattern.
Testing the System
After the installation is complete, it is recommended to test the system. If possible, conduct a pressure test to ensure that there are no leaks. Start with a low pressure and gradually increase it to the operating pressure of the system.
During the test, carefully monitor the connection between the blind flange plate and the pipe. Look for any signs of leakage, such as dripping or hissing sounds. If you detect a leak, shut down the system immediately and address the issue.
Special Considerations for Forged Orifice Flanges
In some cases, you may be working with Forged Orifice Flanges. These flanges have a different design and may require additional steps during installation.
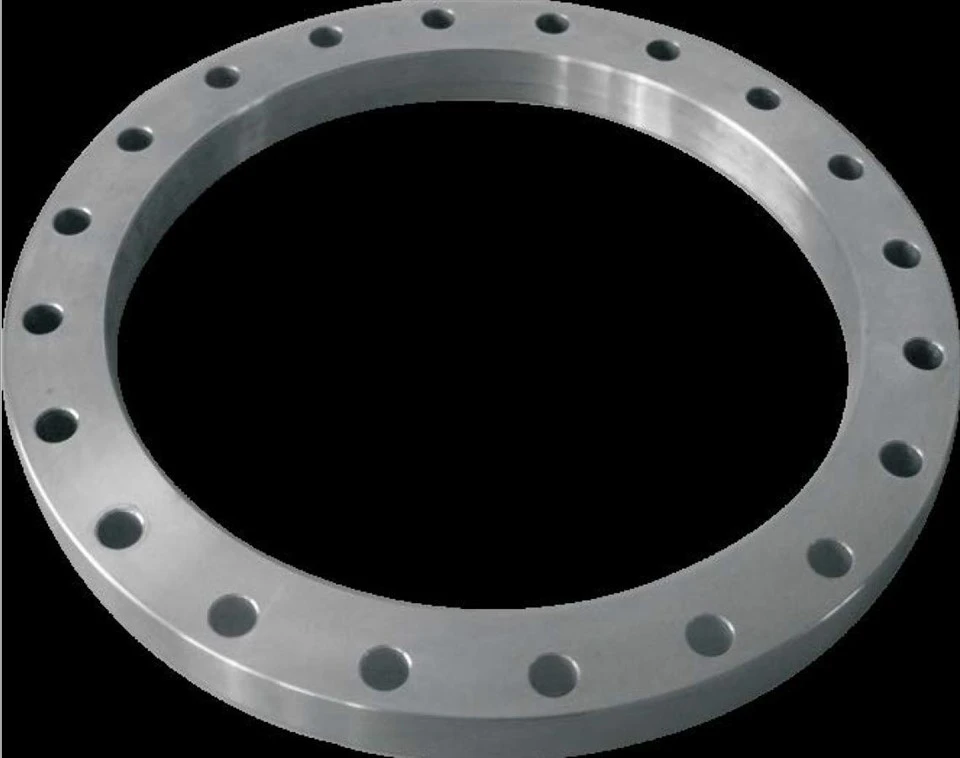
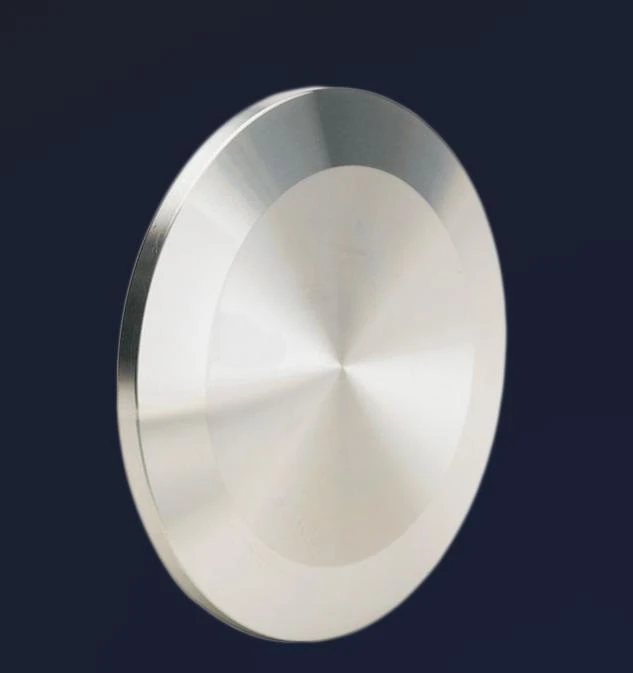
Forged orifice flanges are often used in applications where flow measurement is required. When installing a forged orifice flange, ensure that the orifice plate is correctly installed and centered within the flange. The orifice plate should be aligned with the flow direction in the pipe.
Conclusion
Installing a blind flange plate is a process that requires attention to detail and proper technique. By following the steps outlined in this blog, you can ensure a successful installation. Remember to choose the right materials, position the flange correctly, tighten the bolts evenly, and conduct thorough inspections and tests.
If you have any questions or need assistance in selecting the right blind flange plate or other related products, feel free to reach out to us. We are here to help you with all your flange needs and can provide you with high - quality products and expert advice. Our team of professionals has extensive experience in the industry and can guide you through the entire procurement and installation process. Whether you are working on a small - scale project or a large industrial application, we have the solutions for you. Contact us today to start your procurement and let's discuss how we can meet your specific requirements.
References
- "Piping Handbook" by Nayyar, S. K.
- Manufacturer's installation guides for blind flange plates and related products.